AWS Console Dashboard
Obviously, you first need an AWS account. If you don't already have one thats fine, its really easy to get one. If you're signing up for the first time you can get a AWS micro ec2 instance for a year absolutely free of cost. Head over to the Create a new AWS account page and follow through the instructions.
Assuming that you do have an account, sign in to access the AWS console. You will see the main services screen like this.
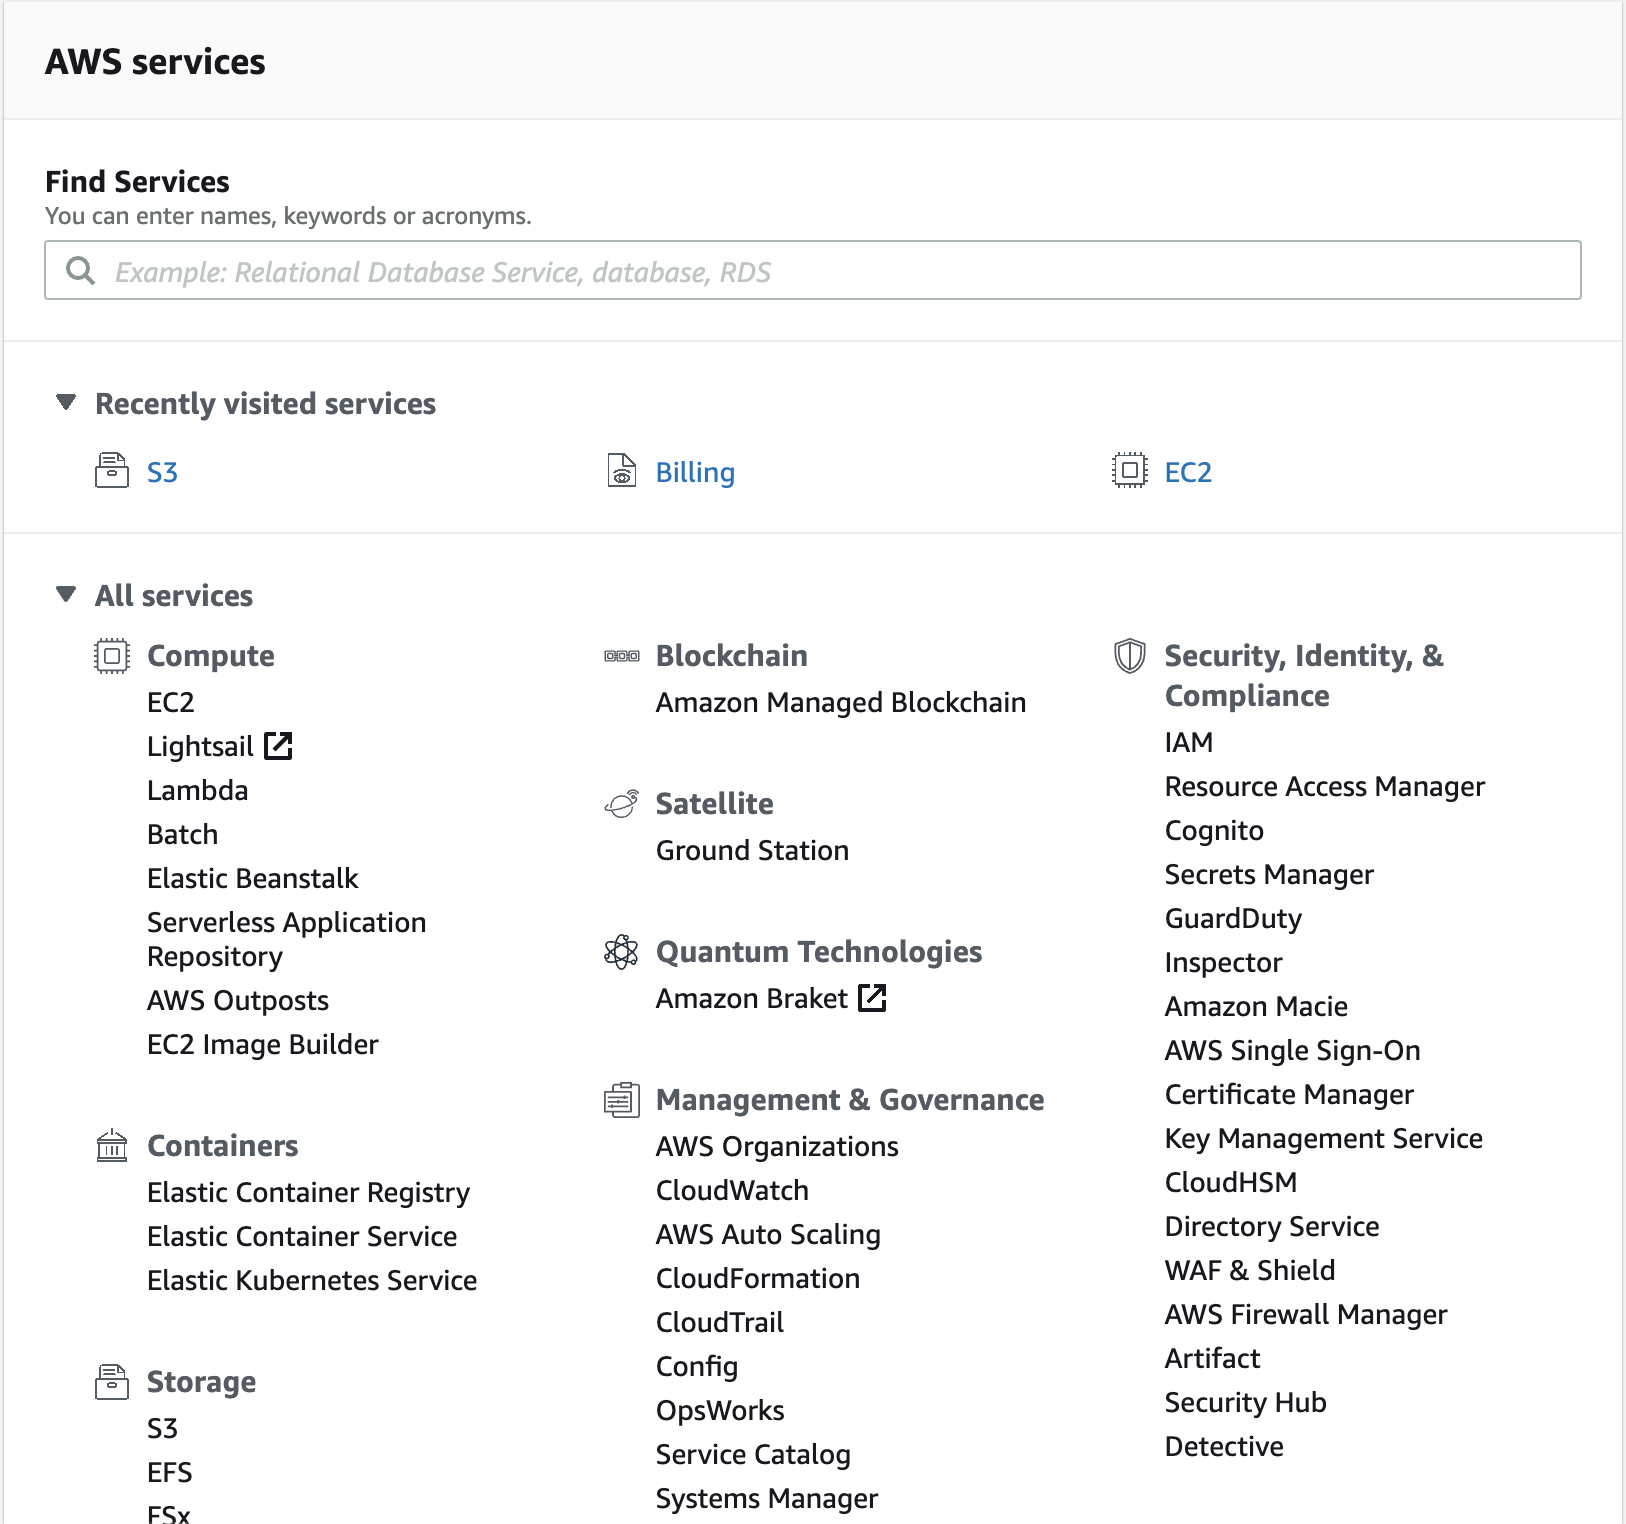
From the main AWS dashboard click on EC2. You will now see more options in your left side navbar. Make sure you have your EC2 instance running in order to create an Elestic IP as you need to associate the IP to a running instance. Click on the Elastic IP's link as highlighted in the screnshot.
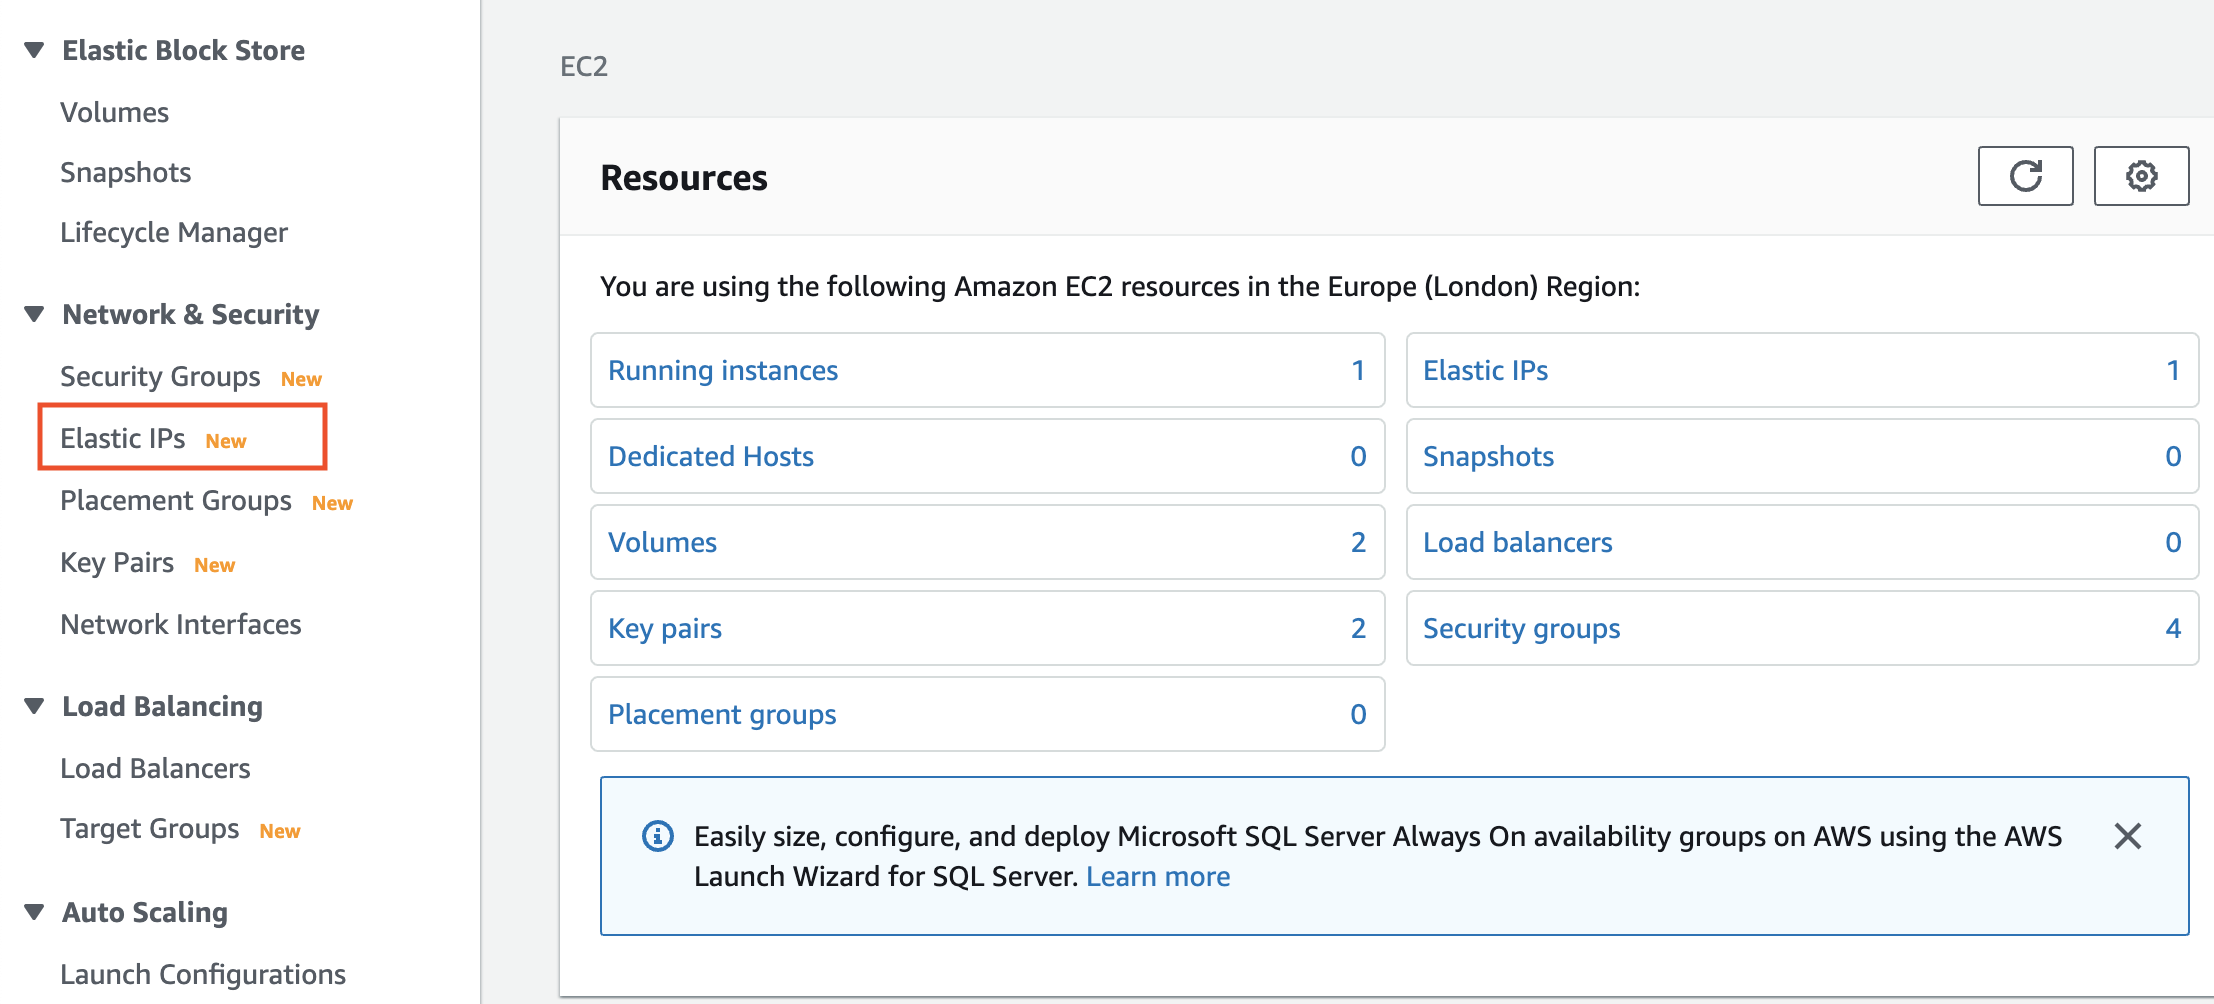
This will bring us to the Elastic IP's table view, where we can see a list of all the Elastic IP's we have. Click on the Allocate Elastic IP address button located at the top right as shown.

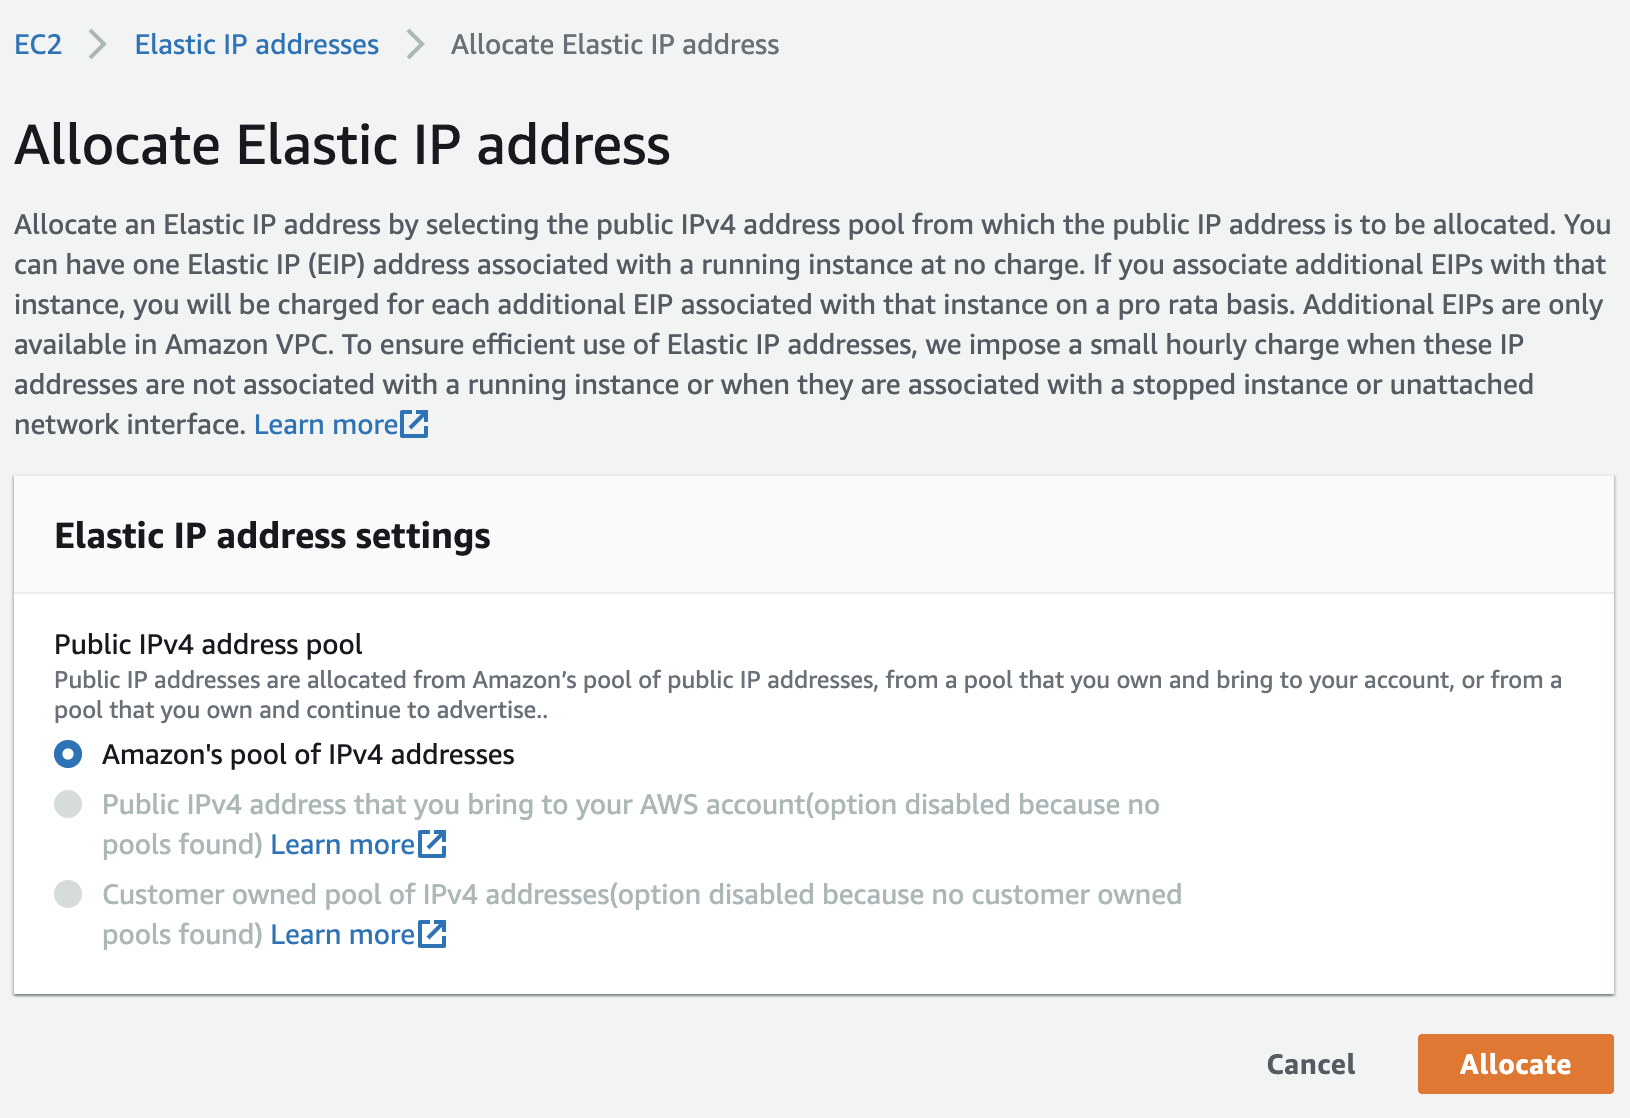
Just click the Allocate button. Amazon will automatically pick an IPv4 address from its pool of addresses and create a new IP for us.
You should now have an Elastic IP created and listed in the table view. See image below.
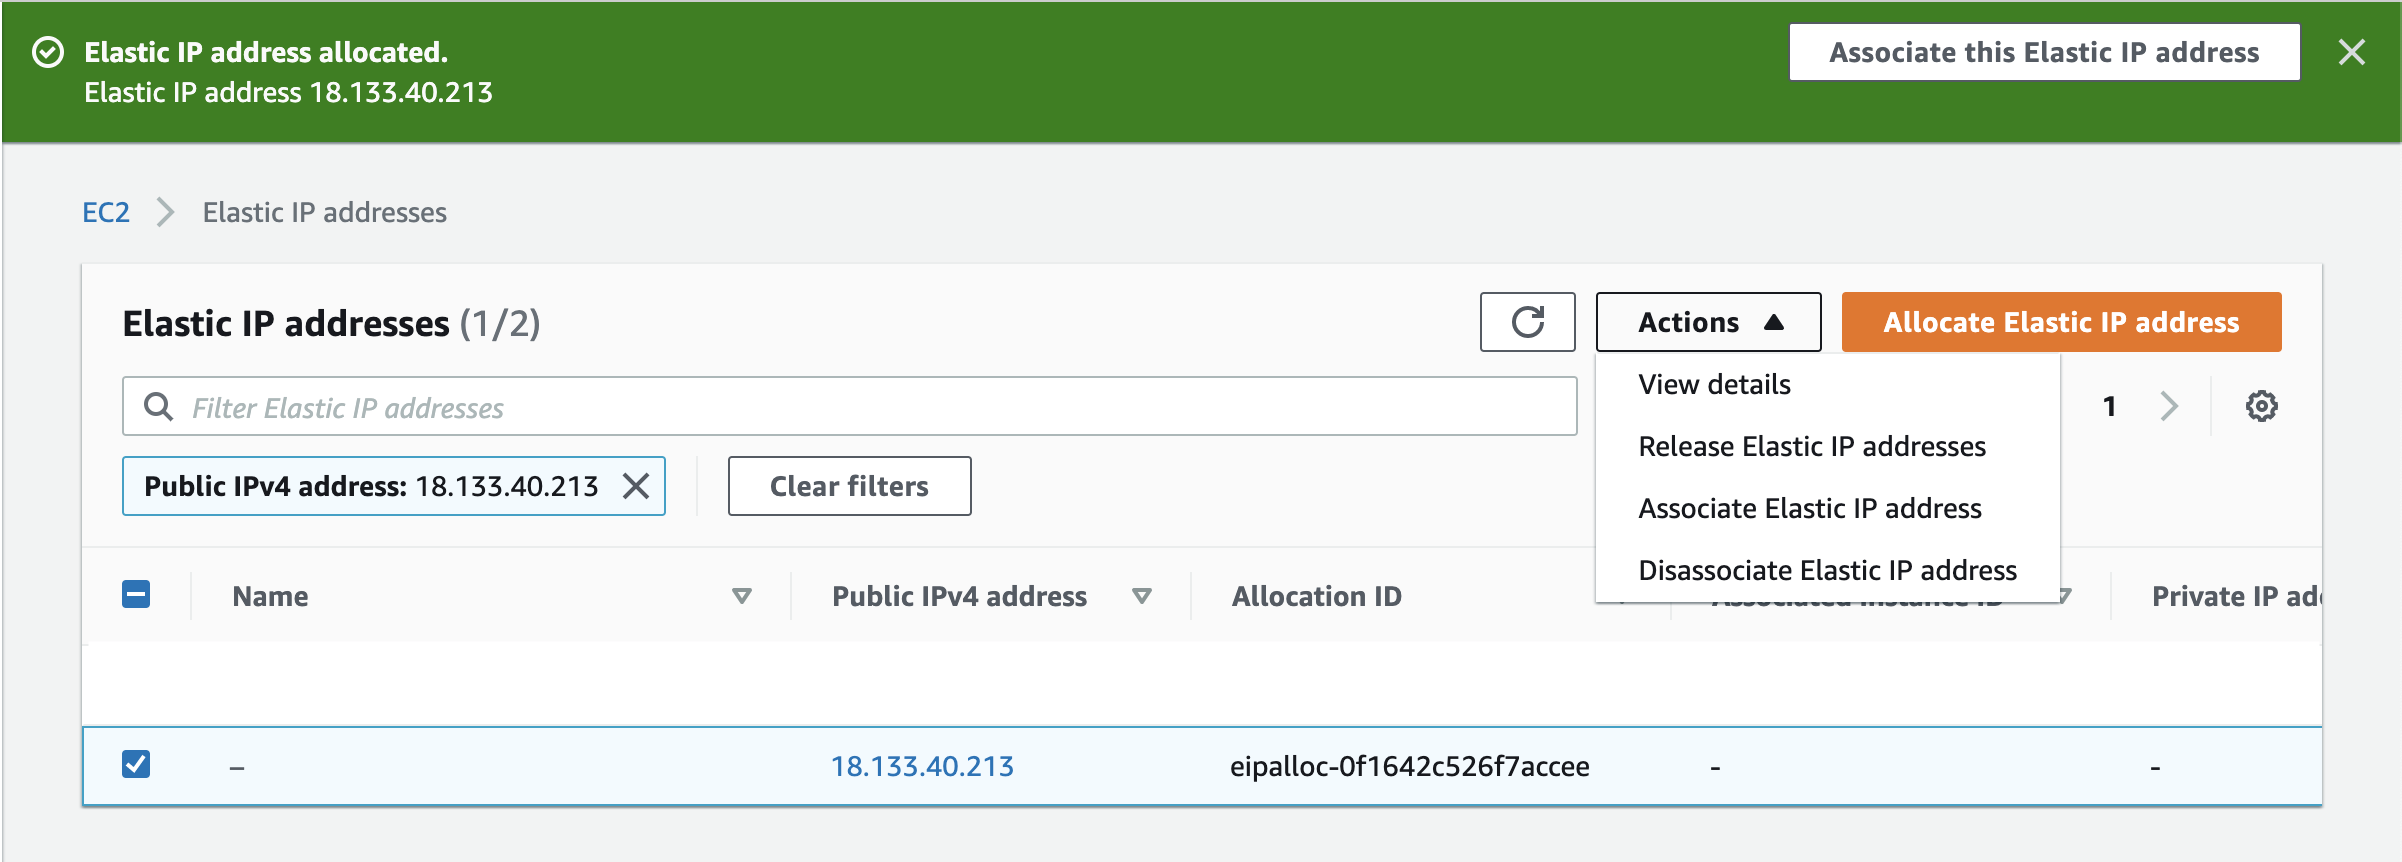
Now that we have our IP created, we can go ahead and allocate the IP to an existing EC2 instance. To do this select the IP you just created and click on the Actions dropdown and click on Associate Elastic IP address.
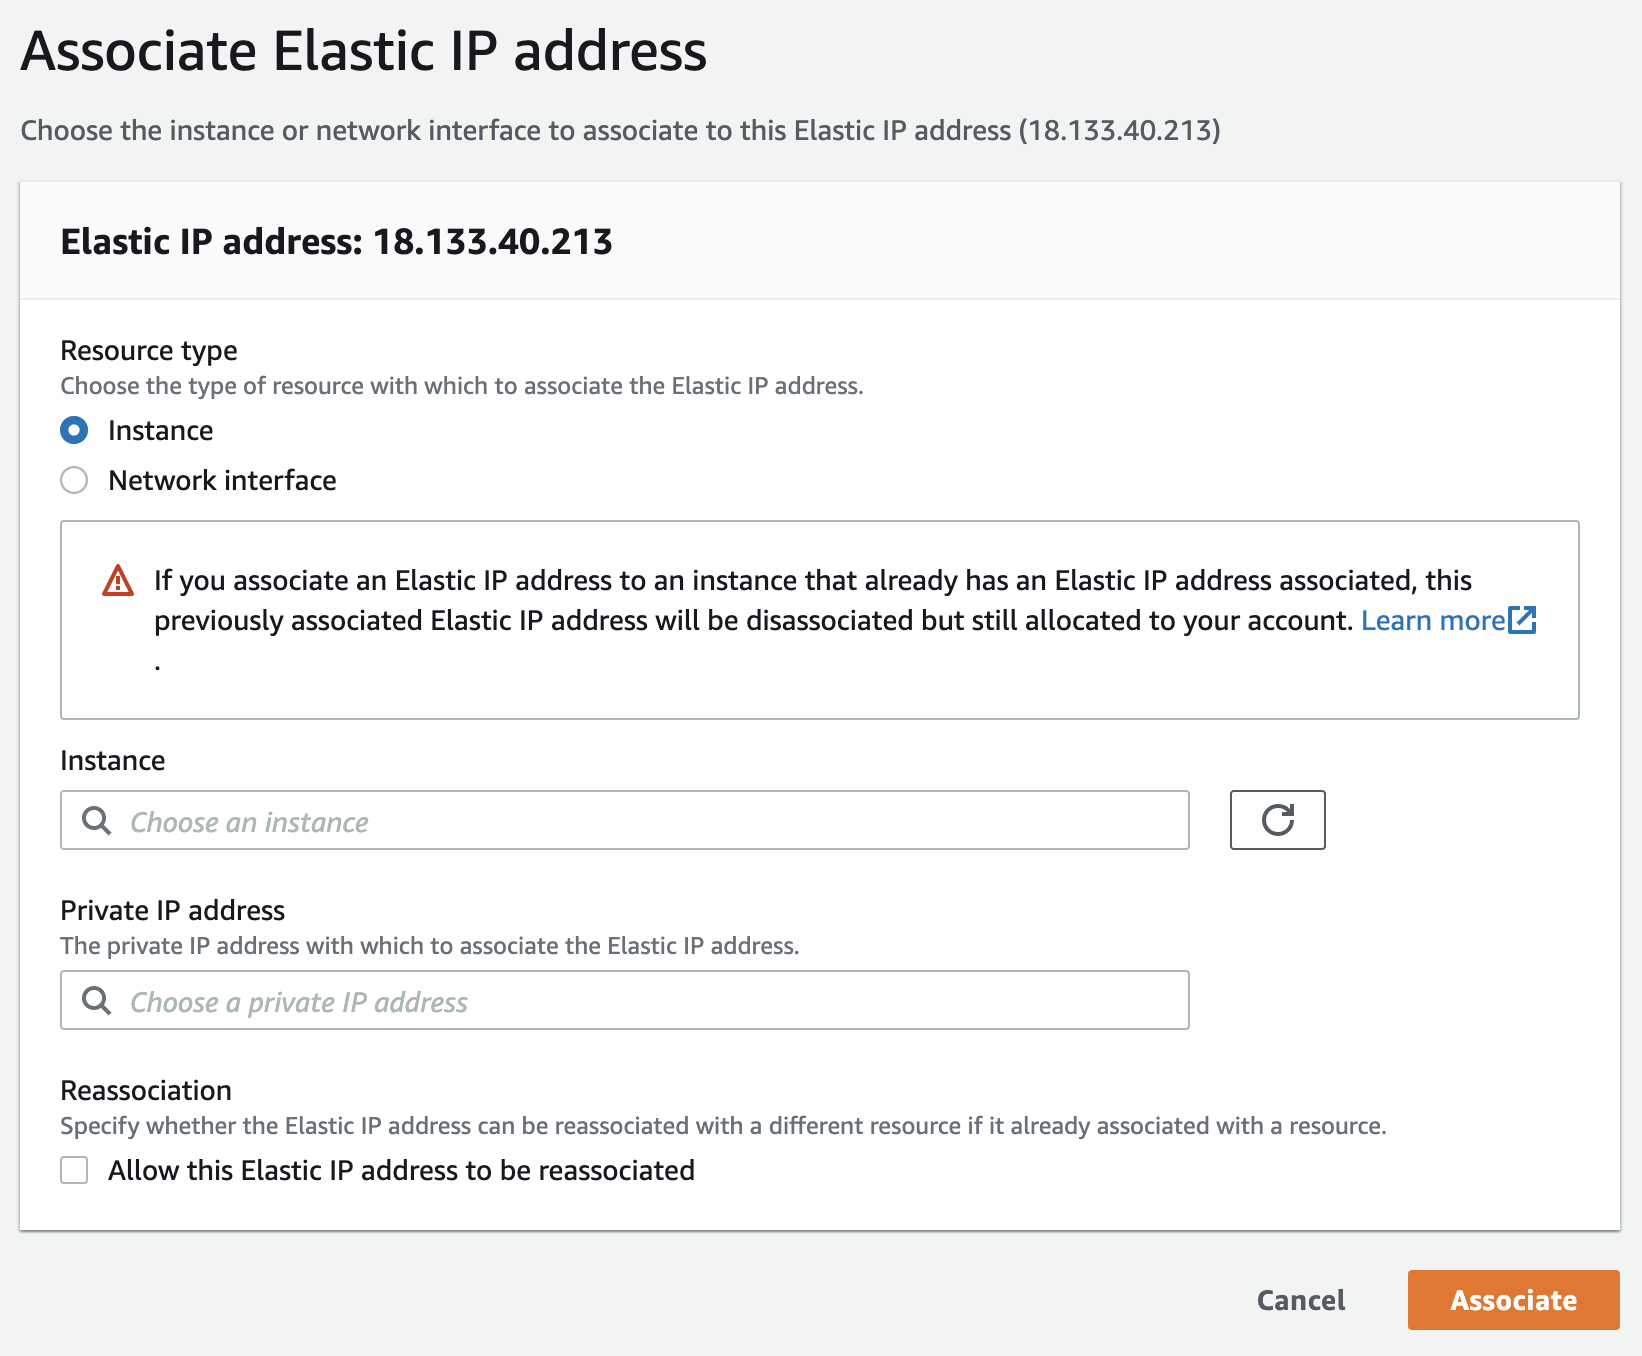
You can now choose the Instance and Private IP address you wish to associate the IP with and click on the Associate button.The Private IP address will automatically show up once you select your Instance from the drop down.
NOTE: If you have an Elastic IP created but not associated to any EC2 Instance, you will be charged for the time the IP is unallocated, therefore if you're not using an IP, remember to Release Elastic IP addresses. You can do this by selecting the IP and clicking on the Actions dropdown menu and click Release Elastic IP addresses.
Cool 😎, you now have a dedicated IP for your instance. If you're using Laravel Forge you can add the Elastic IP to you server.
Hope you find this article useful 👍.